New laptop setup
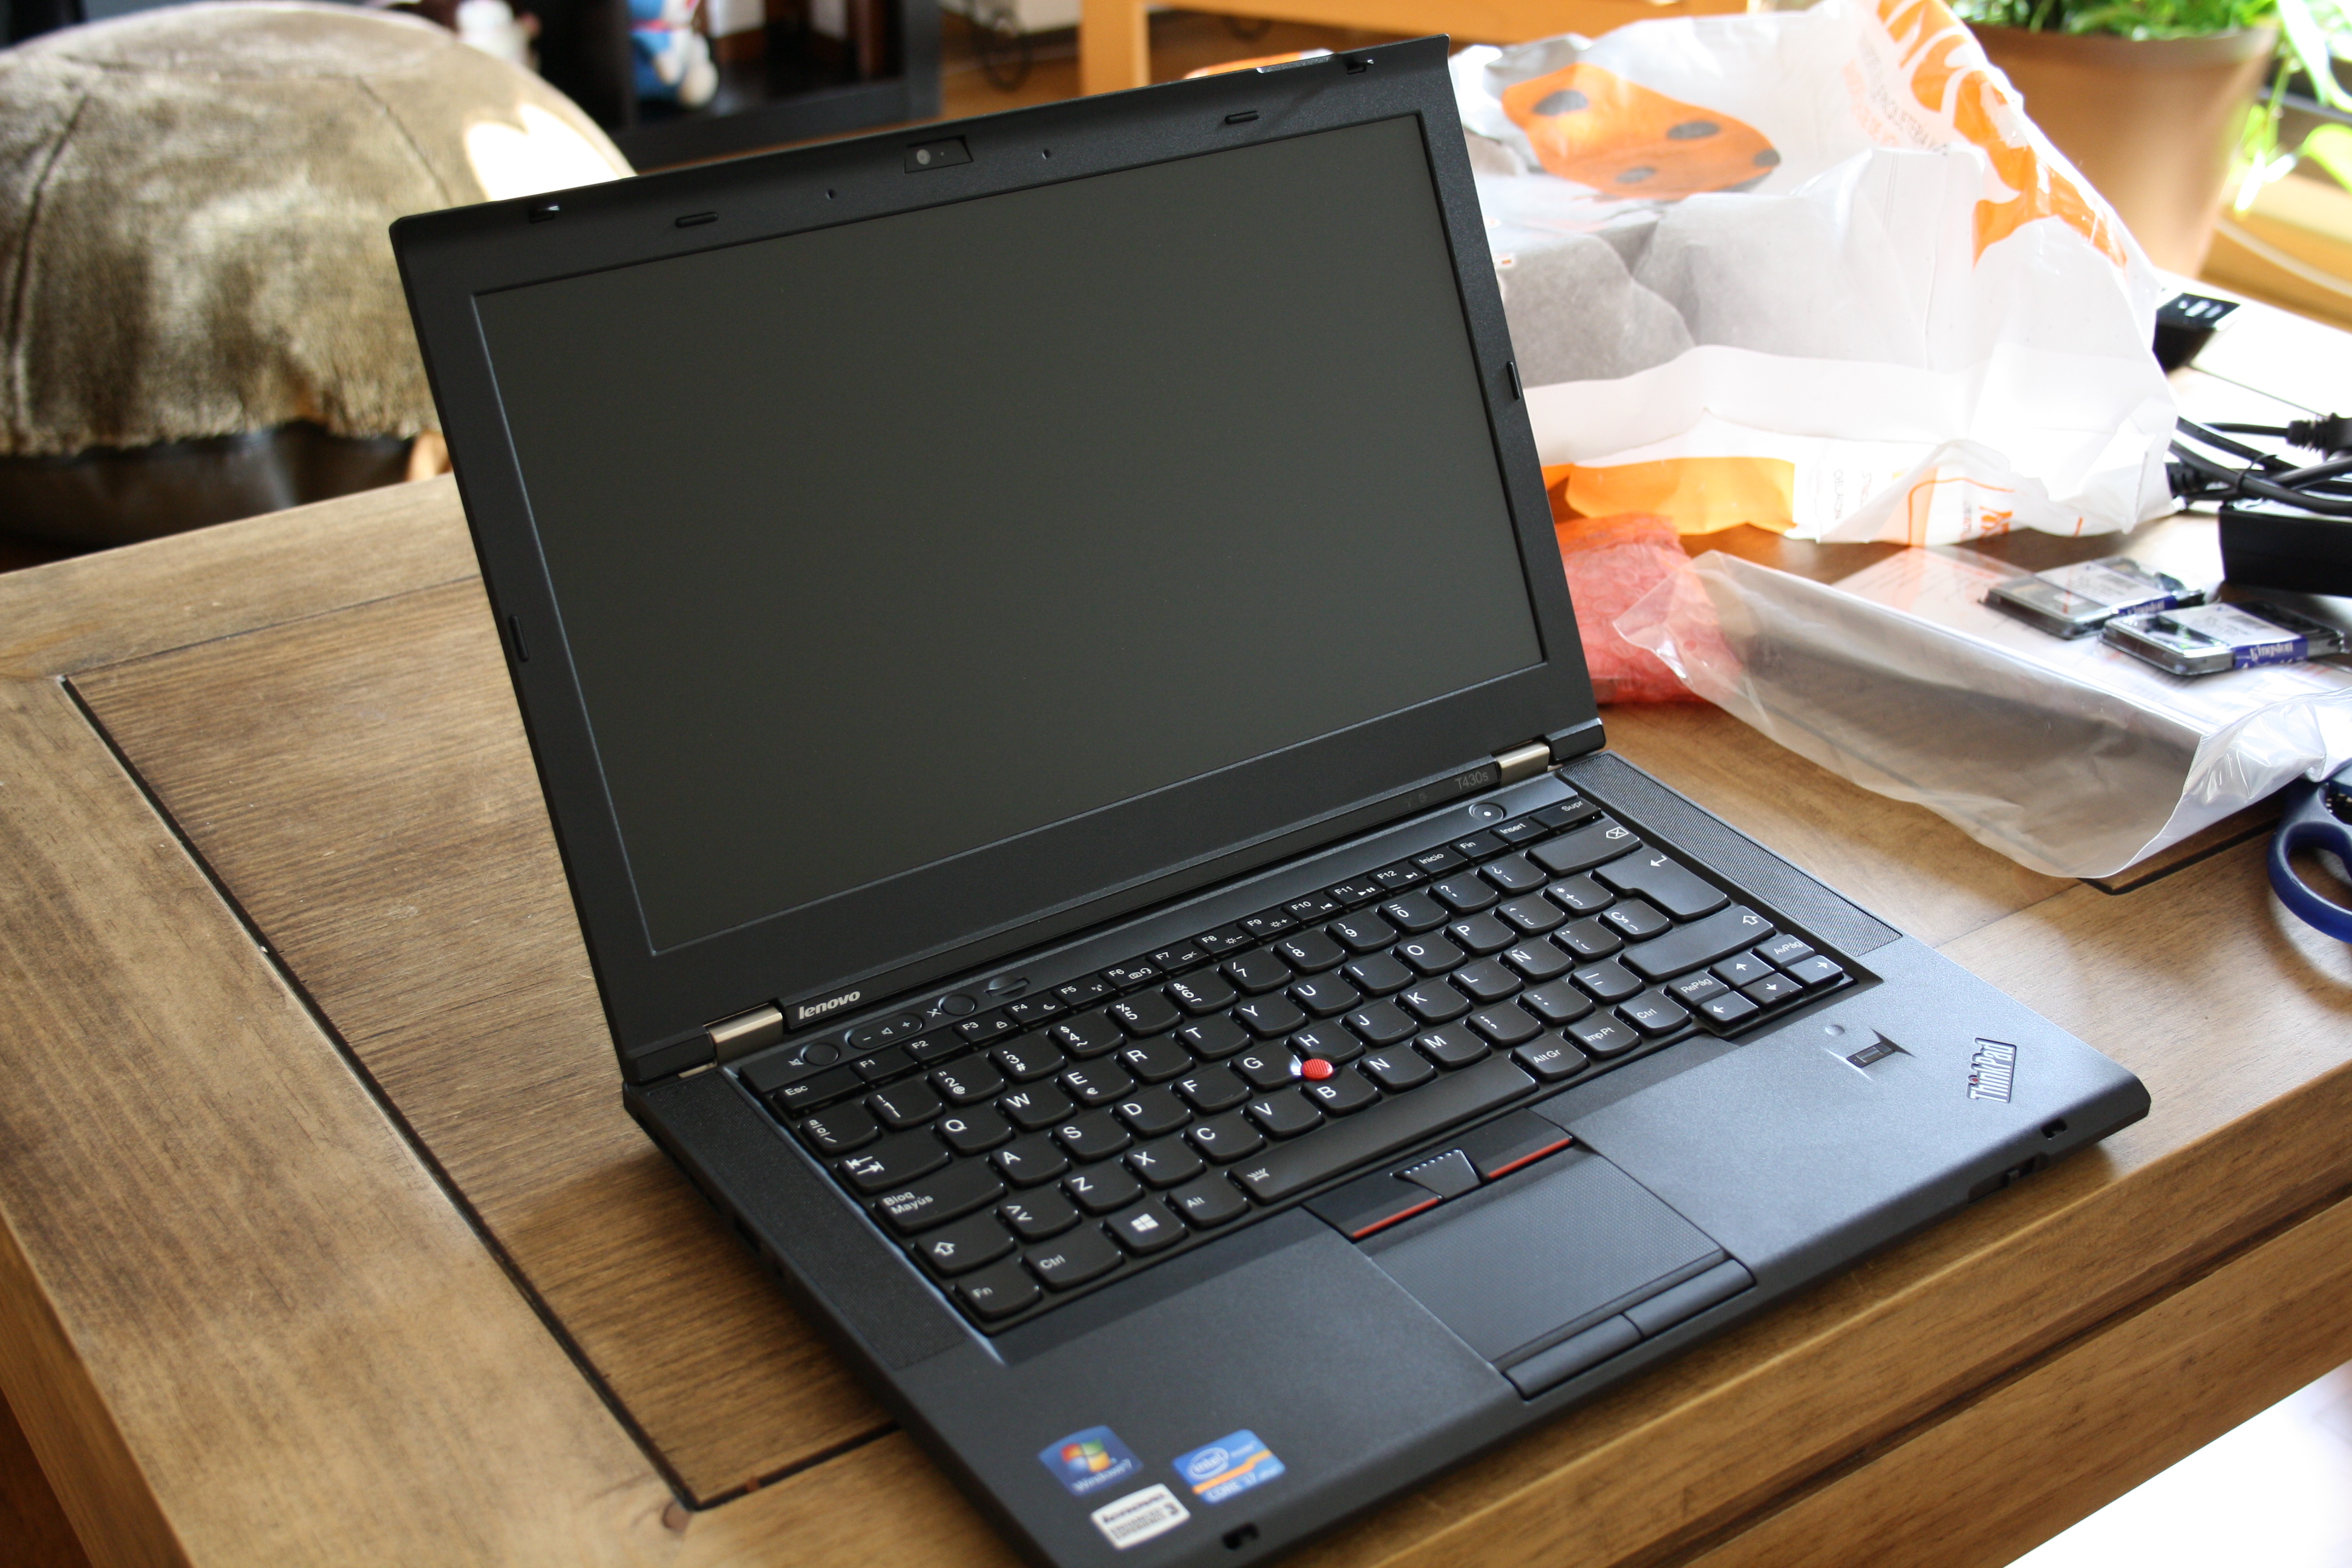
I just bought a brand new Lenovo T430s with the following specs: Intel i7-3520M (2.9 Ghz), 16 GB RAM, 180GB SDD + 500GB HDD, Intel 4000, 14'' Screen and so on. I wanted to have a dual OS configuration since the machine cames with Windows 7 Professional and even thought I don't use it in a daily basis I still have to boot it when filling up taxes or playing some games. In this post I will explain all those non trivial steps to get an optimized system up and running.
Cleaning the Windows mess
One of the things that was not very nice when I first boot the laptop was discovering how the main drive (180GB) had only 110 GB free. Yes, that means the operating system and initial applications were filling 70GB of my precious SDD!!! Time to do some cleanups
First, I removed a bunch of software crap that was installed by Lenovo & friends. Intel apps marketplace, Corel DVD player, Corel video editing and other pearls like this.
Then I copied the restore partition into another media. In my case, I used a spare 32GB micro SD which I plan to connect to a USB adapter so I can boot the computer with it. I also tried to copy this data into 3 DVDs just in case but unfortunatly Windows only lets you do a backup, not two. Absolutely stupid.
I installed the free software WinDirStat (which is similar to the GNOME baobab program) to learn what files and directories were eating all the space. A misterious hiberfil.sys in the root directory was taking a lot of space. Google told me this file is used for hibernating.
Then I disabled hibernating since that needs a lot of space and I don't plan to hibernate in Windows. To do so I opened the Start Menu, click on All Programs and Accessories, right click on Command Prompt, and click on Run as administrator. Then I run the following command:
powercfg -h off
That saved around 16GB!!
Next, I removed the page file since having 16 GB of RAM is quite enough these days for a sporadic use. For doing so this is the set of steps you need to accomplish:
- Control Panel, System
- Advanced System Settings
- Advanced Tab
- Settings button under Performance
- Advanced Tab
- Change button under Virtual Memory
- On your SSD drive, change the option to "No Paging File".
- Click Set.
- OK and reboot.
After the reboot I had another 10GB available.
So now I had only 30GB used and it was time to shrink the partition to make space for Linux. I tried to do so with Windows disk manager but it wouldn't let me resize beyond 60GB (and I defrag this partition several times without success) and it also didn't let me remove a 8GB "Hibernate" partition. So I tried EaseUS Partition Master 9.2.2 and it worked perfectly without any problems.
I also created a 50GB NTFS partition in my second drive (the hard drive) so I can install games and other programs in Windows.
Installing and configuring Fedora Linux
I tried booting a Live Image from a USB memory and it worked fine except for the installer application. I know Anaconda (the Fedora installer) has been rewritten from scratch and that has been the main reason for the big Fedora 18 delay and it's also the main reason people are complaining about the installation of Fedora 18. I think the previous Anaconda was way more solid and stable but if we need a better and easier user experience some innovation need to happen and as always, the first release of a complete rewrite can be much more polished. Let's hope Fedora 19 does not have these problems.
Anyway, I copied a netinstall image on my USB memory and after fighting the partition step I finally managed to install the whole thing in less than an hour. The partition is just fine if you want just the defaut layout, which was not my case. In the SSD drive I created a small 500MB boot partition and I used all the other space (around 120GB) as the root partition (/) for Fedora. I left my 500GB hard drive untouched in the installation step.
Having a SSD primary hard drive is really nice, specially since it makes boot time really small :-) In order to keep its performance good as long as possible I activated the trim support and disabled storing modification times in the journal of the file system. This means adding noatime,nodiratime,discard to the options field of the /etc/fstab:
/dev/mapper/luks-23c07605-9f7e-406b-bc46-9ae15bd9b959	/		ext4    x-systemd.device-timeout=0,noatime,nodiratime,discard 1 1
UUID=8929f3e3-857c-45f9-92b8-cedfcf544774		/boot		ext4    noatime,nodiratime,discard        	1 2
The first thing I did after the initial boot was mounting several directories in RAM:
/dev/mapper/luks-23c07605-9f7e-406b-bc46-9ae15bd9b959	/		ext4    x-systemd.device-timeout=0,noatime,nodiratime,discard 1 1
UUID=8929f3e3-857c-45f9-92b8-cedfcf544774		/boot		ext4    noatime,nodiratime,discard        	1 2
tmpfs                                                   /tmp            tmpfs   defaults,noatime,nodiratime,mode=1777   0 0
tmpfs                                                   /var/spool      tmpfs   defaults,noatime,nodiratime,mode=1777   0 0
tmpfs                                                   /var/tmp        tmpfs   defaults,noatime,nodiratime,mode=1777   0 0
In order to make SELinux work with /var/spool I had to add the following command in the /etc/rc.local file:
cat /etc/rc.local
#!/bin/sh

# For SELinux. 2013-04-27 (lgs)
/sbin/restorecon -R /var/spool
I also changed the default IO scheduler to the "deadline" scheduler but only in the primary drive. For this reason I did this change in the /etc/rc.local file and not in the kernel boot parameters.
cat /etc/rc.local
#!/bin/sh

# For SELinux. 2013-04-27 (lgs)
/sbin/restorecon -R /var/spool

# IO deadline scheduler for ssd devices
echo deadline > /sys/block/sda/queue/scheduler
After that I partitioned the remaining space of the second hard drive. I created a 2GB swap partition. I know I will rarely need swap having 16GB of RAM but I followed Antonio's advice because some programs still make use of swap and if there is no swap space they crash giving you very difficult to debug headaches. That left me with more than 400 GB on the second hard drive for Linux big files. This is how my final /etc/fstab looks like:
# The x-systemd.device-timeout=0 is for encrypted filesystems. See https://bugzilla.redhat.com/show_bug.cgi?id=861123
/dev/mapper/luks-23c07605-9f7e-406b-bc46-9ae15bd9b959	/		ext4    x-systemd.device-timeout=0,noatime,nodiratime,discard 1 1
UUID=8929f3e3-857c-45f9-92b8-cedfcf544774		/boot		ext4    noatime,nodiratime,discard        	1 2
UUID=26644947-8a4a-4fb4-a619-80f2f1693c57		/mnt/hdd	ext4	defaults				1 2
tmpfs							/tmp		tmpfs	defaults,noatime,nodiratime,mode=1777	0 0
tmpfs							/var/spool	tmpfs	defaults,noatime,nodiratime,mode=1777	0 0
tmpfs							/var/tmp	tmpfs	defaults,noatime,nodiratime,mode=1777	0 0
UUID=b7feeaef-260e-422f-9c4e-dc6cbaa07463		swap		swap	defaults				0 0
The next thing I did was symlinking the ~/.cache directory to /tmp which is mounted in RAM:
[lgs@t430s ~]$  ls -l .cache
lrwxrwxrwx. 1 lgs lgs 16 abr 28 10:33 .cache -> /tmp/lgs/.cache/
This was made so Chromium would not trash my precious SSD disk with its cache needs but there are a bunch of other programs that also use this .cache directory (tracker, shotwell, rhythmbox, etc.) so it's even better. With Firefox is simpler since all you need to do is change the setting browser.cache.disk.parent_directory and point it to /tmp/lgs:
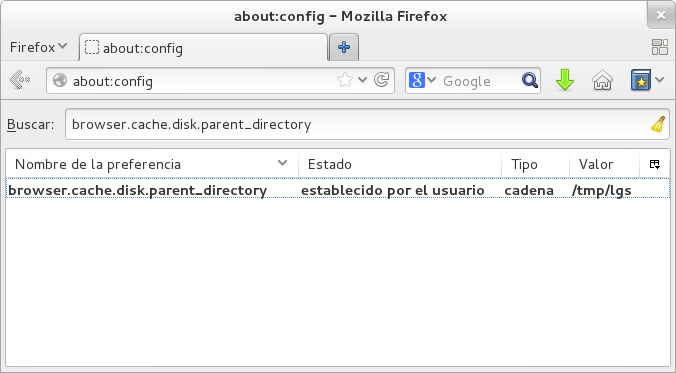
But wait, there is a problem about linking ~/.cache into /tmp/lgs/.cache since the /tmp directory is mounted in RAM its contains disappear after a reboot. So I created a GNOME init script that create this directory when starting the GNOME session:
[lgs@t430s ~]$ cat .config/autostart/0001-mkdir.desktop
[Desktop Entry]
Type=Application
Exec=/usr/bin/mkdir -p /tmp/lgs/.cache
Hidden=false
X-GNOME-Autostart-enabled=true
Name[es_ES]=001 Create cache in /tmp
Name=001 Create cache in /tmp
Comment[es_ES]=
Comment=
Note the name of the file (0001-mkdir.desktop). It is important since it needs to be executed very early in the startup session.
I also symlinked my multimedia directories into the second hard drive since they fill up my SSD drive very quickly:
[lgs@t430s ~]$ ls -l
lrwxrwxrwx.  1 lgs lgs      26 abr 28 10:57 Música -> /mnt/hdd/home/lgs/Música/
lrwxrwxrwx.  1 lgs lgs      26 abr 28 10:58 Vídeos -> /mnt/hdd/home/lgs/Vídeos/
Some other directories are very write intensive. I'm talking about the Downloads directory (heavily used by browsers and Bit Torrent clients) and the Mail directory (heavily used by offlineimap).
[lgs@t430s ~]$ ls -l
lrwxrwxrwx.  1 lgs lgs      28 abr 28 10:56 Descargas -> /mnt/hdd/home/lgs/Descargas/
lrwxrwxrwx   1 lgs lgs      23 abr 29 19:58 Mail -> /mnt/hdd/home/lgs/Mail/
I also symlinked the /var/log directory to the second hard drive in order to avoid writes in the SSD drive.
[lgs@t430s ~]$ ls /var/ -l
lrwxrwxrwx.  1 root root   17 abr 28 17:39 log -> /mnt/hdd/var/log/
Some useful links:
- http://www.mysolutions.it/linux-ssd-solid-state-drive/
- http://apcmag.com/how-to-maximise-ssd-performance-with-linux.htm
- https://wiki.archlinux.org/index.php/Solid_State_Drives